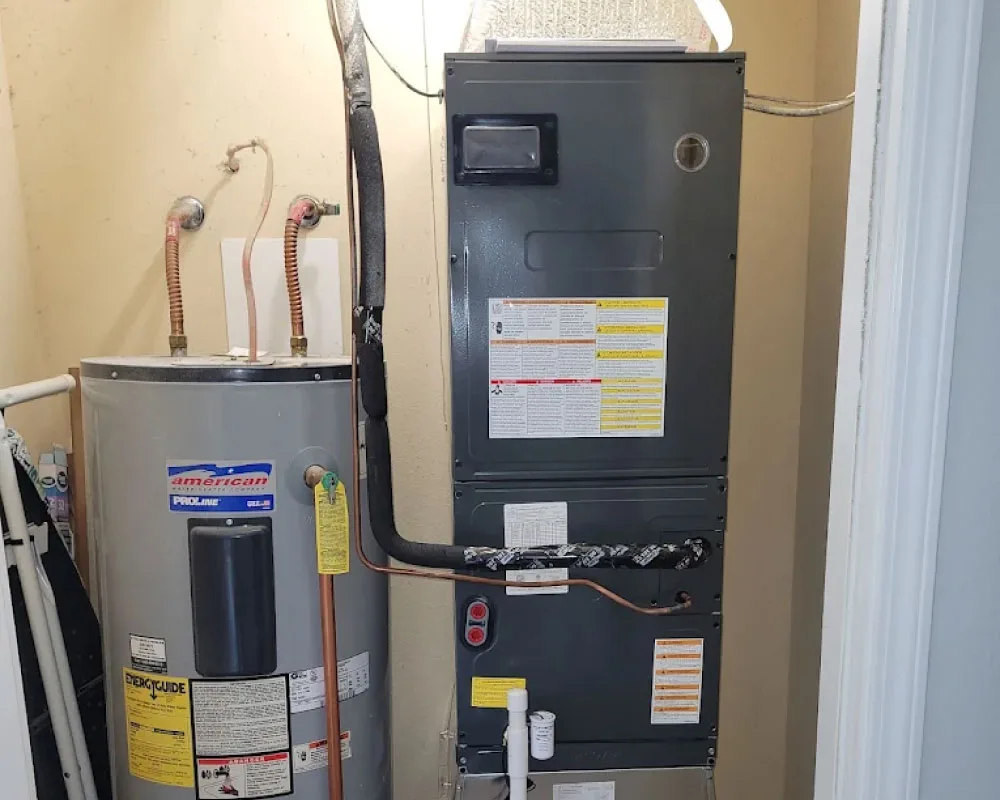
Boiler Installation & Replacement
Boiler Installation & Replacement in Branson, MO
A quality boiler is the foundation of reliable home heating in the Ozarks—delivering consistent warmth to every radiator or baseboard in your home. Whether you’re upgrading from an aging system or installing a new high-efficiency boiler, we’ll manage the entire project: equipment selection, precise sizing, professional installation, and the confidence that comes with licensed expertise and full warranty coverage.
Get a Free Estimate
Why Choose Us
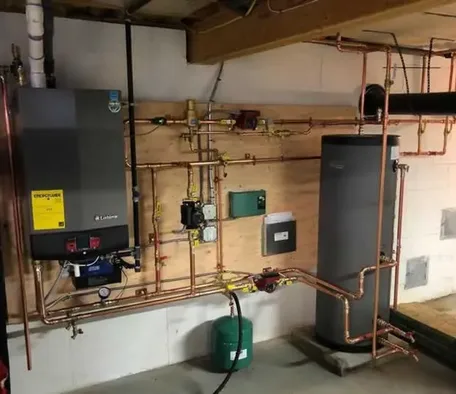
Why Branson Homeowners Trust Us for Boiler Installation & System Upgrades
A new boiler is a 20-year decision. Here’s what sets 360 Comfort Solutions apart when it’s time to install or replace your home heating system.
Ready to Upgrade Your Home’s Boiler Heating System?
Whether your current boiler is aging, corroded, losing pressure, or simply inefficient, we’re ready to walk you through the upgrade—from load calculation and equipment selection to professional installation, testing, and warranty support.
Our Installation Process
How We Install Your New Boiler System
From the first measurement to the final walk-through, here’s exactly what to expect when 360 Comfort Solutions installs your new boiler heating system.
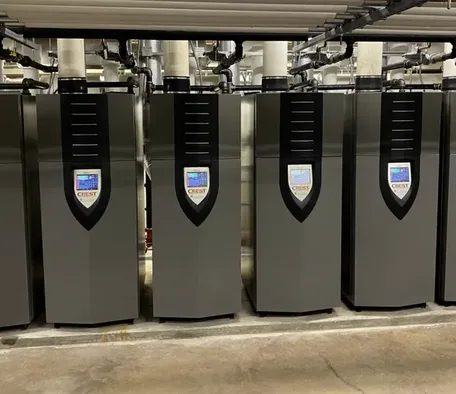
Step 1: Comprehensive Home Evaluation & Heating Load Calculation
Your boiler installation begins with a thorough evaluation of your home’s heating needs, current system, and distribution layout. We measure square footage, assess insulation R-value and air sealing (windows, doors, foundation seals), examine attic and basement heat loss, and discuss your comfort goals and budget. We inspect your existing boiler, piping, radiators or baseboard convectors, expansion tank, and circulating pump to understand what’s working and what’s aging. Using industry-standard load calculation methods (ASHRAE Manual J), we determine your home’s actual heating requirement in BTU by factoring in your home’s construction type, window count and direction, basement or crawl space, local Branson heating degree-days, and desired indoor temperature. This ensures we recommend a boiler large enough to handle the coldest winter day but not oversized—which causes short-cycling, fuel waste, and noise.
- Measure home square footage room by room and assess ceiling height
- Evaluate insulation R-value in attic, walls, basement rim joists, and crawl space
- Inspect air sealing quality (windows, doors, foundation penetrations)
- Examine existing boiler, piping material, and distribution system condition
- Count and assess radiators or baseboard convectors for heating coverage
- Identify existing zone controls and thermostat setup
- Calculate heating load based on ASHRAE standards and Branson climate data
- Review equipment options from multiple manufacturers (Armstrong Air, Sterling, Lochinvar, Rinnai, Navien)
- Discuss efficiency preferences (traditional cast-iron vs. modern high-efficiency condensing)
- Provide preliminary estimate and financing introduction
Step 2: Equipment Selection, Efficiency Options & System Design
We present boiler options matched to your heating load, home layout, and priorities. You might choose a traditional non-condensing boiler (reliable, straightforward, typically 80–85% efficient) or a modern condensing boiler (high-efficiency, 90–98% AFUE, which extracts extra heat from flue gases before venting them). Condensing boilers cost more upfront but deliver 25–40% fuel savings over their 25+ year lifespan. We explain warranty coverage, efficiency ratings, and the projected fuel savings over time. For homes with multiple heating zones, we discuss zone control options: individual thermostats with motorized valves, or a single thermostat with zoning panels. We also explain piping requirements and introduce financing programs so you can make an informed decision without pressure.
- Present equipment tiers: traditional non-condensing (80–85% AFUE) vs. high-efficiency condensing (90–98% AFUE)
- Compare fuel-cost savings year-over-year and over system lifespan (20–30 year projections)
- Explain warranty terms, parts coverage duration, and labor protection for each model
- Discuss boiler placement options: basement, utility closet, attic, or outdoor placement
- Review manufacturer rebates (often substantial for qualifying high-efficiency models)
- Discuss utility company incentive programs and energy-efficiency tax credits
- Explain zone control options and multi-zone system benefits for comfort and efficiency
- Calculate monthly financing payments for each equipment tier and term
- Outline piping assessment: reuse or replacement decision based on condition and flow testing
- Address expansion tank sizing, pressure relief valve requirements, and safety controls
Step 3: System Inspection, Piping Assessment & Water Quality Testing
Boiler performance depends on clean piping and proper water chemistry. We perform a thorough inspection of your existing system: examining copper or pex supply and return lines for corrosion, leaks, or poor connections. We test water pressure (should be 12–15 PSI cold, building to ~20–25 PSI hot) and flow rate. We check the expansion tank for proper air charge and water pressure. We assess circulating pump condition and verify it’s sized for your system. We test water hardness, pH, and iron content—many Branson homes have hard water that causes scale buildup inside the boiler, reducing heat transfer efficiency and shortening the system’s lifespan. If testing reveals hard water, sediment, or corrosion products, we’ll recommend chemical treatment, flushing, or new piping as needed.
- Inspect piping material (copper, pex, steel) for corrosion, leaks, and sizing
- Test water pressure at multiple points and compare cold vs. hot operation
- Measure circulating pump flow rate and assess motor condition
- Inspect expansion tank air charge and water pressure (using calibrated gauge)
- Examine all shutoff and isolation valves for proper function and accessibility
- Test water chemistry: hardness, pH, iron content, alkalinity (using lab or on-site kit)
- Identify sediment or rust inside existing radiators or convectors
- Locate and document high-point air vents and low-point drain locations
- Recommend flushing, chemical treatment, or piping replacement based on findings
- Provide written system assessment with photos and test results
Step 4: Professional Boiler Installation, Piping Connection & Control Integration
Our installation crews handle every aspect of proper boiler placement, gas or oil supply connection, hydronic piping integration, electrical wiring, venting setup, and control system activation. The boiler is positioned securely on a vibration-dampened pad in your chosen location. Gas supply lines are sized correctly for your boiler model’s BTU demand and pressure requirements, then pressure-tested to ensure zero leaks—a critical safety step. Supply and return hydronic piping is soldered (copper) or crimped (pex) with proper joints, sized for correct flow, and insulated to prevent heat loss. The circulating pump is wired and verified to deliver the correct flow rate. The expansion tank is charged with proper air pressure to safely handle water expansion as temperature rises. All zone valves, check valves, and thermostatic mixing valves are installed and calibrated. We test the entire system at operating temperature and pressure, checking for leaks, verifying radiator heat distribution, and confirming that all zones heat independently and correctly.
- Install boiler on a level, stable, vibration-dampened pad or mounting bracket
- Size and connect gas supply line with proper pressure regulation and leak testing
- Install shut-off valves (isolation) for the boiler and main supply/return lines
- Connect supply and return hydronic piping with soldered (copper) or crimped (pex) joints
- Install expansion tank with proper air charge (typically 12–15 PSI) and mounting
- Connect circulating pump with proper flow direction and verify motor operation
- Install thermostatic mixing valve (if needed for zone mixing or temperature control)
- Connect all zone valves, check valves, and isolation valves with proper sequencing
- Install and wire boiler controls: ignition, flame sensor, pump relay, safety switches
- Install and test the venting system for proper draft and exhaust clearance
- Verify complete water-fill and bleeding procedures to remove trapped air
- Pressure-test the system at operating temperature to confirm zero leaks
Step 5: Performance Testing, Control Programming & Final Handoff
Before the job is complete, your new boiler undergoes full performance testing to ensure every system is operating safely and efficiently. We light the boiler and verify reliable ignition through multiple on-off cycles. We measure water temperature rise across the heat exchanger and compare it against the boiler’s rated specifications. We test combustion using a calibrated gas analyzer, measuring flue gas composition to verify clean, efficient fuel burning. We verify all safety shutoff switches respond correctly: limit switch, low-water cutoff, and flame-failure switch. For multi-zone systems, we test each zone independently. We program your thermostat to your preferred comfort settings and walk you through how to adjust temperature, set schedules, and use hold/vacation modes. You receive comprehensive documentation: model number, serial number, warranty cards, efficiency rating, BTU capacity, piping diagram, zone assignment, and our emergency contact number.
- Light the boiler and verify reliable ignition sequence through multiple on-off cycles
- Measure water temperature rise and compare against rated heat output
- Test combustion via calibrated gas analyzer for safe, clean-burning operation
- Check all safety shutoff switches: limit switch, low-water cutoff, flame-failure switch
- Verify circulating pump operation and flow at each radiator or baseboard
- Test thermostat signal and confirm boiler response to temperature demand
- For multi-zone systems, test each zone independently and verify zone valve operation
- Program thermostat with your comfort preferences and weekly schedule if applicable
- Verify venting system draft and exhaust clearance one final time
- Conduct detailed walk-through: water-fill location, thermostat controls, reset button, safety shutoff
- Provide complete system documentation, warranty cards, serial numbers, efficiency rating, specifications
- Explain seasonal startup, annual maintenance intervals, and when to call for emergency service
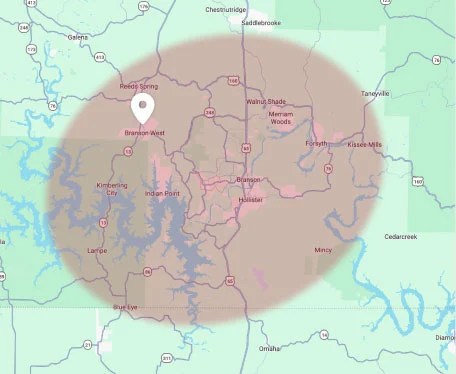
Don’t See Your Location?
We may still be able to help! Give our team a call today to see if we service your neighborhood, and we’ll be happy to assist you.
Service Areas
Boiler Installation Service Areas in Southwest Missouri
We install new boilers and perform replacements across the Branson region—from our home base out to the smaller communities along the Table Rock Lake corridor.
Proudly Serving Our Communities Around:
Other Locations We Serve:
Explore More
Complete Boiler & Hydronic Heating Services
A new boiler performs best as part of a complete comfort system. Explore the related services we provide for homes and businesses across the Branson area.
Heat Pump Installation & Replacement
Modern alternative to boilers: provides both heating and cooling in one efficient system.
Explore Heat Pump Installation & ReplacementBoiler Repair & Emergency Service
When your boiler fails on a cold night, we diagnose and repair it fast with same-day availability.
Explore Boiler Repair & Emergency ServiceBoiler Maintenance & Tune-Up
Annual fall service to ensure your boiler runs reliably, efficiently, and safely all winter.
Explore Boiler Maintenance & Tune-UpFurnace Installation & Replacement
If you prefer forced-air heating, we install high-efficiency furnaces with the same professional expertise.
Explore Furnace Installation & ReplacementIndoor Air Quality Solutions
Add humidifiers, air filtration, or UV lights to your boiler system for cleaner, healthier winter air.
Explore Indoor Air Quality SolutionsWater Heater Installation & Replacement
Pair your boiler with a high-efficiency water heater for complete home comfort.
Explore Water Heater Installation & ReplacementYour Boiler Installation
Ready to Install a New Boiler for Dependable Winter Comfort?
Installing a new boiler is one of the biggest comfort and financial decisions you’ll make. The right system—properly sized, professionally installed, integrated with clean piping and proper water chemistry, and regularly maintained—will heat your home reliably for 20+ years while keeping your winter energy bills manageable. Our 40+ years in the Branson area means we understand the local heating climate, we know which systems perform best here, and we’re invested in your long-term comfort. Call us to schedule a free in-home evaluation, and let’s find the perfect heating system for your Branson home.
Questions & Answers