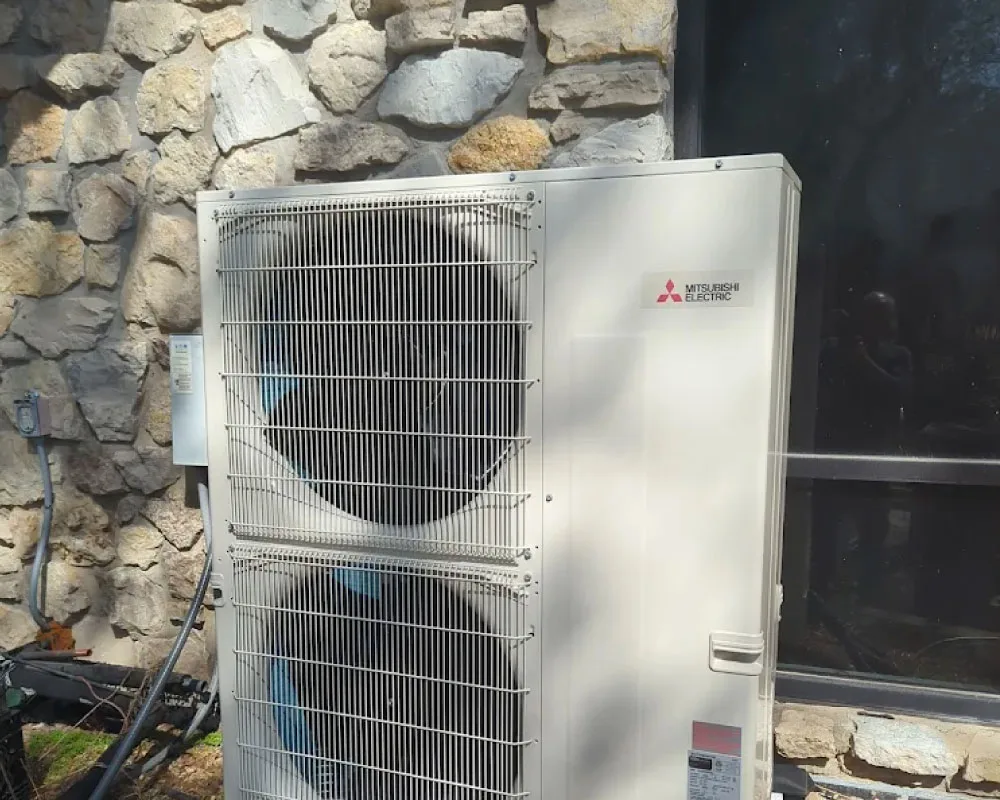
Mini-Split Repair & Emergency Service
Ductless Mini-Split Repair & Emergency Service in Branson, MO
Your ductless system was quietly conditioning your space yesterday—today it’s dead, or barely working. We diagnose mini-split failures fast, identify the exact problem, and explain your repair options before touching a single component. Same-day emergency service available during peak cooling and heating seasons.
Get a Free Estimate
Why Choose Us
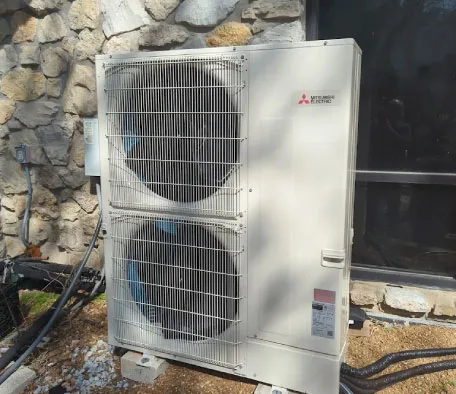
Why Homeowners Trust Us to Diagnose Mini-Split Failures
Precision diagnosis, manufacturer expertise, and honest repair recommendations—here’s what sets 360 Comfort Solutions apart when your ductless system stops working.
Your Mini-Split Needs Repair. Let’s Find Out What’s Actually Wrong.
From refrigerant leaks and failed compressors to frozen coils and electrical faults, we walk you through the diagnosis and repair plan before any work begins.
Our Repair Process
How We Diagnose and Repair Mini-Split Problems
From emergency intake to final commissioning, here’s exactly what to expect when 360 Comfort Solutions diagnoses and repairs your ductless system.
Step 1: Emergency Intake & Initial Triage
You call with your mini-split problem. We ask diagnostic questions: Is the indoor head running but not cooling? Is the system making noise? Is there visible leakage? Is the outdoor unit cycling strangely? We establish urgency (emergency vs. routine), confirm your availability, and dispatch a technician with the right tools and refrigerant type for diagnosis. For peak-season cooling calls, we often have same-day availability.
- Gather symptom details and system history
- Determine system age and any previous repairs
- Establish if problem is cooling, heating, or both
- Identify visible warning signs (leaks, noise, frost)
- Prioritize emergency vs. routine appointment
- Confirm technician dispatch window with homeowner
Step 2: Visual System Walk-Through & Initial Observations
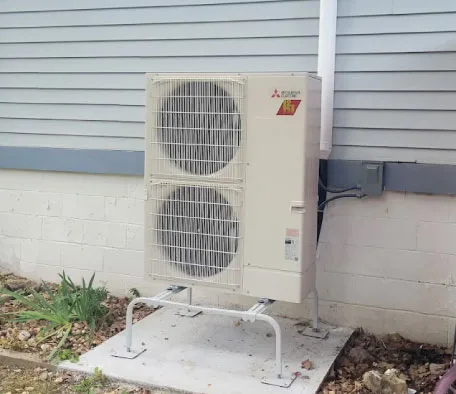
Our technician arrives and performs a thorough visual inspection while the system is running (or attempting to run). We check the outdoor compressor for damage, debris, corrosion, or liquid leaks. We inspect refrigerant tubing for kinks, proper insulation, or visible damage. We examine the indoor head for ice formation, water leakage, or blockages. We listen to the compressor and fan for abnormal sounds and check thermostat settings. Photos document any visible problems.
- Walk the entire refrigerant line path (outdoor unit to indoor head)
- Listen to compressor and fan operation for grinding, squealing, or hissing
- Inspect outdoor coil for debris, corrosion, or ice formation
- Check electrical connections and capacitor condition
- Examine indoor head for ice, water pooling, or airflow blockage
- Feel temperature of refrigerant lines (high side should be hot; low side should be cool)
- Take baseline photos for reference and explanation to homeowner
Step 3: Detailed Diagnostic Testing with Calibrated Instruments
This is where diagnosis becomes certain. We use calibrated refrigerant gauges, multimeters, and temperature probes to measure high-side and low-side refrigerant pressures (compared to manufacturer specifications), subcooling and superheat balance (confirms correct charge level), compressor voltage, amperage, and motor continuity, capacitor condition and electrical resistance, thermostat control signal continuity, airflow static pressure across coils, and coil temperatures (evaporator and condenser). Every measurement is recorded and shown to you. We never guess—we measure and compare to equipment specifications.
- Charge system using calibrated gauges; compare readings to nameplate specs
- Calculate subcooling and superheat to assess charge accuracy
- Test run capacitor with multimeter for capacitance value
- Verify compressor motor continuity and megohm rating
- Measure thermostat voltage and control signals
- Check airflow pressure across evaporator coil
- Document all readings on the diagnostic report
Step 4: Diagnosis & Transparent Repair Recommendation
We sit with you and explain exactly what we found. Here’s the broken component, here’s why it failed, here’s the repair cost, here’s the timeline, and here’s what’s covered by warranty. We discuss repair vs. replacement options for older systems (e.g., compressor replacement vs. full unit replacement on a 12+ year system). We provide a written estimate before any work begins. This conversation often includes larger-picture assessment: if your system is 15+ years old and the compressor is failing, we might recommend replacement rather than repair. If it’s a 6-year-old unit with a refrigerant leak, repair makes sense.
- Present findings in plain language with supporting test data
- Explain why the component failed and what symptom it caused
- Provide written repair estimate (parts, labor, timeline)
- Discuss lifespan implications (repair keeps system running X more years)
- Offer replacement alternative if repair is economically marginal
- Get written approval before beginning work
- Confirm part availability and schedule completion time
Step 5: Repair Execution with Precision Commissioning
Once approved, we perform the repair following Mitsubishi or Fujitsu manufacturer procedures. If it’s a refrigerant leak, we locate the leak source, repair the connection or replace the component, pull a deep vacuum to remove air and moisture, and charge to the exact gram specification. If it’s a compressor, we replace it and verify all electrical and refrigerant connections. After the repair, we run the system through a complete heating and cooling cycle, verify temperatures at both coils, measure pressures, confirm noise levels are normal, and verify the thermostat responds correctly.
- Perform repair following OEM procedures for Mitsubishi or Fujitsu
- Use factory-correct refrigerant type (R-410A, R-32, etc.) and exact charge amount
- For leak repairs: locate source, repair connection or replace component, evacuate, recharge
- For compressor replacement: verify electrical compatibility, confirm oil type, measure new charge
- Pull vacuum to remove air and moisture before recharging
- Charge using calibrated scale and measure to specification gram
- Pressure test to confirm zero leaks before system operation
- Run system and verify cooling and heating operation
Step 6: Final Verification & Maintenance Handoff
Before we leave, you get a complete explanation of the repair, a written summary of work performed, warranty documentation, and guidance on future maintenance to prevent the same failure. We confirm the system is operating normally, thermostat responds as expected, and you understand how to monitor the system for any future issues.
- Review all work performed and parts replaced
- Explain warranty coverage (parts, labor, duration)
- Show final gauge readings and compare to initial diagnostic
- Demonstrate thermostat operation and temperature control
- Provide invoice with detailed repair description and warranty card
- Answer questions about system operation
- Recommend maintenance plan to catch wear patterns early
- Provide direct contact for follow-up questions in days after repair
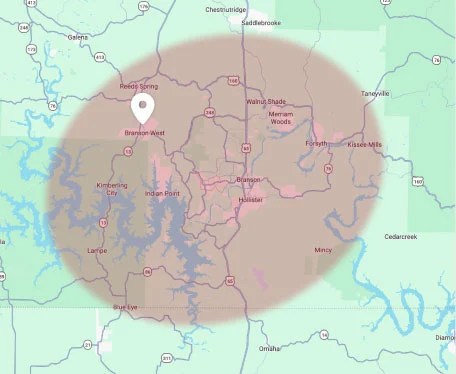
Don’t See Your Location?
We may still be able to help! Give our team a call today to see if we service your neighborhood, and we’ll be happy to assist you.
Service Areas
Mini-Split Repair Service Areas in Southwest Missouri
We diagnose and repair ductless systems across the Branson region—from our home base out to the smaller communities along the Table Rock Lake corridor.
Proudly Serving Our Communities Around:
Other Locations We Serve:
Explore More
Beyond Mini-Split Repair—Complete Comfort Coverage
A repaired mini-split performs best as part of a complete comfort strategy. Explore the related services we provide for homes and businesses across the Branson area.
Mini-Split Installation & System Replacement
Upgrading or expanding your ductless system? We handle sizing, placement, and professional commissioning.
Explore Mini-Split Installation & System ReplacementMini-Split Maintenance & Tune-Up
Annual professional service catches problems early and prevents emergency repairs.
Explore Mini-Split Maintenance & Tune-UpCentral AC Repair
Traditional duct-based systems requiring diagnosis and repair.
Explore Central AC RepairHeat Pump Repair & Service
We repair both ducted and ductless heat pump systems for year-round comfort.
Explore Heat Pump Repair & ServiceFurnace Repair & Service
If heating fails, we diagnose and repair furnace systems.
Explore Furnace Repair & ServiceIndoor Air Quality Solutions
Air filtration and humidity control to improve your ductless system’s effectiveness.
Explore Indoor Air Quality SolutionsA working ductless system is silent and invisible—that’s how you know it’s doing its job. When it stops working, the silence becomes frustration. We bring precision to mini-split diagnosis: calibrated tools, refrigerant expertise, manufacturer knowledge, and a commitment to honest explanation before any repair begins. Whether it’s a cooling failure in summer heat, a heating loss in Branson’s rare cold snaps, or a refrigerant leak slowly degrading performance, we’ll find the cause and explain your repair options clearly. Call us now for same-day emergency service, or schedule a routine appointment at your convenience.
Questions & Answers