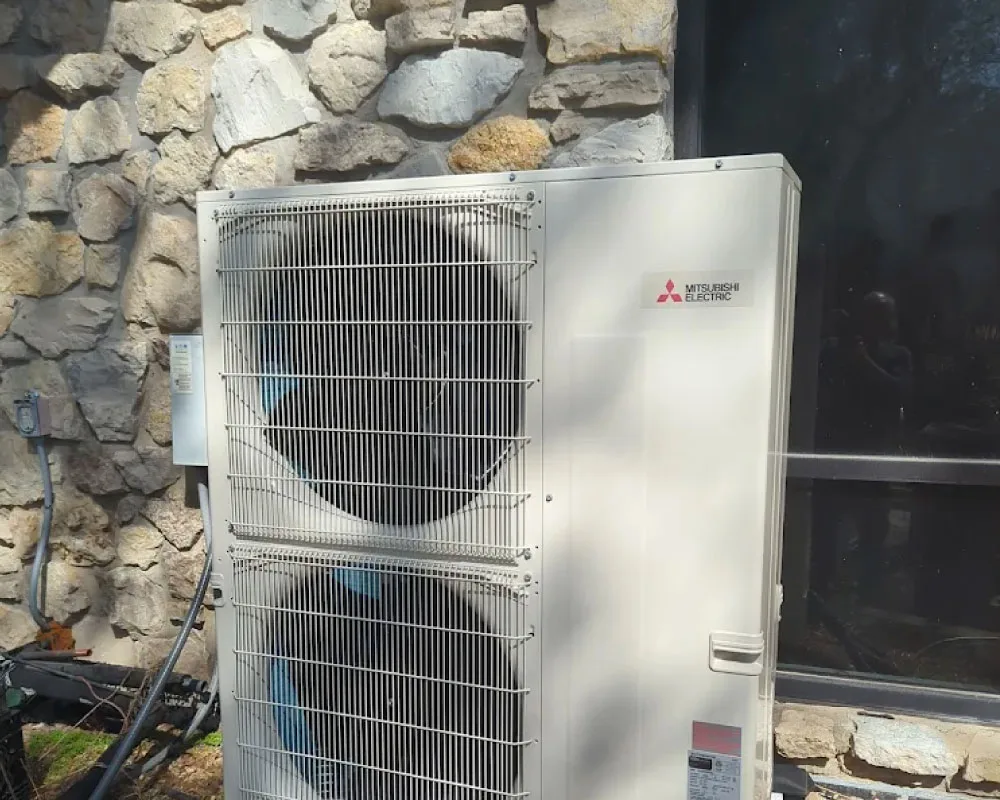
Mini-Split Maintenance
Mini-Split Maintenance & Seasonal Tune-Up in Branson, MO
A mini-split system that runs invisibly year after year doesn’t happen by accident—it happens through consistent, preventive care. Annual professional tune-ups catch refrigerant drift, coil buildup, and electrical wear before they become failures. We inspect, clean, and commission every component so your ductless system stays efficient, quiet, and reliable.
Get a Free Estimate
Why Choose Us
Why Branson Homeowners Trust Our Maintenance Service
Consistent, professional care is what keeps a mini-split running silently and efficiently for 15–20 years. Here’s what sets 360 Comfort Solutions apart when it comes to preventive maintenance.
Protect Your Investment with Professional Mini-Split Maintenance
From refrigerant charge verification to coil cleaning and electrical safety, we keep every component of your ductless system running at peak performance. Annual tune-ups prevent emergency repairs, extend system lifespan, and keep your energy bills low.
Our Maintenance Process
How We Perform Your Mini-Split Maintenance Tune-Up
From scheduling to final commissioning, here’s exactly what to expect when 360 Comfort Solutions services your ductless mini-split system.
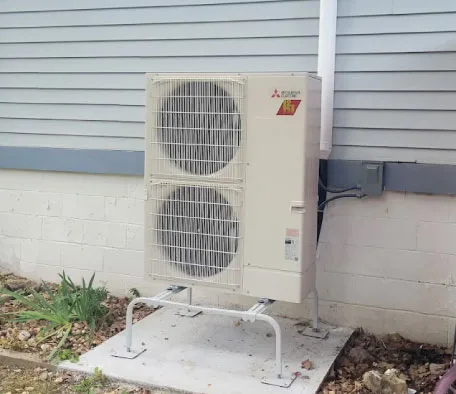
Step 1: Scheduling and Pre-Visit Preparation
We recommend scheduling maintenance in early spring (before cooling season) or early fall (before heating season)—when weather is mild and technicians have reasonable availability. During booking, we confirm your system type (Mitsubishi, Fujitsu, or other), the number of zones (single head or multi-head), and note any issues you’ve observed (reduced cooling, unusual noise, energy bill spikes). This information guides what we focus on during the visit. We arrive with all tools and supplies needed: refrigerant gauges, coil cleaning solutions, filter replacements, capacitor testers, and electrical test equipment.
- Confirm optimal scheduling window (spring or fall)
- Note system model, zones, and history of issues
- Gather customer concerns about efficiency or performance
- Prepare technician kit with diagnostic and cleaning equipment
- Confirm appointment time and access details with homeowner
Step 2: Visual System Inspection and Baseline Observations
Our technician arrives and performs a thorough walk-around of both indoor and outdoor components. We examine the outdoor compressor for debris buildup, corrosion, refrigerant staining (sign of a slow leak), or loose bolts. We check that the unit sits level on its pad and that vibration isolators are intact. We inspect the refrigerant line insulation for cracks or deterioration. Inside, we look at the indoor head for dust accumulation on the grilles, water marks around the unit (sign of condensate backup), and verify the front cover and filter are accessible. We photograph the system in its current condition and note any visible wear or concerns.
- Walk full refrigerant line path from outdoor to indoor unit
- Inspect outdoor compressor pad, bolts, and vibration isolation
- Check refrigerant lines for insulation damage or outdoor corrosion
- Examine indoor head grille for dust and airflow blockage
- Look for signs of refrigerant leaks (staining, oil residue)
- Check condensate drain outlet for water flow or blockage
- Take photos documenting system condition
Step 3: Filter Inspection and Replacement
We examine the indoor head filter—either a reusable mesh filter or disposable accordion-type filter depending on your model. We assess dust accumulation and replace if needed. Most homeowners should clean or replace filters every 1–2 months during heavy use; we do this during maintenance and provide guidance on the interval for your home’s environment (dusty regions require more frequent changes). A heavily soiled filter reduces airflow, causes the evaporator coil to ice up, and makes the system work harder. Fresh filters restore full airflow and efficiency immediately.
- Inspect indoor head filter for dust and debris accumulation
- Remove and dispose of disposable filters or clean reusable filters
- Install fresh filter (if disposable) or verify reusable filter is clean
- Inspect filter frame for tears or damage
- Confirm filter fits securely with no air bypass
- Provide replacement filters and schedule for next change interval
- Explain signs that filters need changing between maintenance visits
Step 4: Evaporator Coil Cleaning Without Damage
This is the signature maintenance task. We carefully remove the indoor head from the wall bracket (unscrewing mounting bolts and disconnecting the electrical connection), exposing the evaporator coil. Using approved coil cleaning solution and soft brushes, we clean the aluminum fins and copper tubing without bending or damaging them. A bent fin reduces efficiency; aggressive scrubbing can crack the coil. We clean gently and thoroughly, removing dust, pollen, and mold spores. After cleaning, we rinse with distilled water (to prevent mineral deposits) and allow the coil to dry. We then carefully reinstall the indoor head, verify it’s level and secure, and reconnect the electrical plug.
- Disconnect electrical plug to indoor head
- Unscrew mounting bracket bolts (typically 4 bolts)
- Carefully remove indoor head and set on clean surface
- Apply approved coil cleaning solution to fins
- Use soft brushes and compressed air to clean coil thoroughly
- Rinse coil fins with distilled water to remove cleaning residue
- Allow coil to air-dry completely
- Reinstall indoor head securely to wall bracket
- Verify mounting is level and all bolts are tight
- Reconnect electrical plug and verify head powers on
Step 5: Refrigerant Charge Testing and Top-Up if Needed
Using calibrated digital gauges, we measure both high-side and low-side refrigerant pressures with the system running in cooling mode. We record the readings, compare them to the system’s nameplate specifications (which vary by model), and calculate subcooling and superheat values. These calculations tell us if the system is properly charged, undercharged, or (rarely) overcharged. If the charge is low by more than 5%, we investigate for leaks. Small leaks at connections may be repairable; larger leaks might require component replacement. If the leak is minor and fixed, we evacuate the system, pull a vacuum to remove air and moisture, and recharge to the exact gram specification using a calibrated scale.
- Connect calibrated refrigerant gauges to service ports
- Run system in cooling mode and record high and low pressures
- Calculate subcooling and superheat from gauge readings
- Compare findings to manufacturer specifications
- Investigate any charge loss for leak signs (staining, oil residue)
- If charge is low, locate and repair leak source if accessible
- Perform vacuum evacuation if system required opening
- Charge with exact refrigerant amount using calibrated scale
- Verify charge accuracy with second gauge measurement
- Disconnect gauges and verify no refrigerant escapes
Step 6: Electrical and Capacitor Safety Inspection
We test all electrical connections, particularly at the outdoor unit and control wiring from the thermostat. We measure voltage and amperage to confirm the system is drawing expected current—a spike can indicate a failing motor or short circuit. We test the capacitor (a crucial component that helps start the compressor) using a specialized capacitor tester. If capacitance is below the nameplate rating, the capacitor is failing and should be replaced. We also verify the disconnect switch and breaker are functioning and that all wire connections are clean and secure. Electrical failures often happen suddenly and leave you without comfort during peak season—catching them during maintenance means we fix them before they strand you.
- Measure voltage at indoor thermostat control signal
- Verify thermostat to outdoor unit control signal continuity
- Inspect all electrical connections for corrosion or looseness
- Measure amperage draw during cooling and heating operation
- Compare amperage to equipment nameplate specification
- Test capacitor with capacitance meter (verify microfarad rating)
- Test disconnect switch and circuit breaker function
- Inspect visible wiring insulation for cracks or deterioration
- Photograph any concerns for documentation
Step 7: Condensate Drain Line Flush and Treatment
We locate the condensate drain line (typically a small PVC pipe exiting from the indoor head or the wall cavity). We flush the line with distilled water and approved algae-prevention treatment to clear any mold or algae buildup. We verify water flows freely and collects in the designated drain pan or discharges outside without pooling. A clear drain prevents water backup inside the wall, which can cause mold, staining, or structural damage. We apply algae-preventive treatment monthly if using a maintenance plan—a small task that prevents big problems.
- Locate condensate drain line exit
- Flush line with distilled water at low pressure
- Apply algae-prevention treatment to drain pan or line
- Verify water flows freely and exits without blockage
- Check for water staining on walls or ceilings (sign of past blockage)
- Document treatment and provide homeowner with preventive care guidance
Step 8: System Commissioning and Performance Verification
After all service is complete, we run the system through a full cycle. We set the thermostat to cooling mode, verify the compressor starts, check that conditioned air flows freely from the indoor head, measure the temperature differential across the coil (should be 15–20°F), and confirm the thermostat responds to temperature changes. We switch to heating mode and repeat the verification. We listen for abnormal sounds (grinding, squealing, hissing), which might indicate bearing wear or refrigerant issues. We confirm the system reaches your desired temperature and maintains it without excessive cycling.
- Run system in cooling mode and verify compressor startup
- Measure air temperature at indoor head outlet
- Calculate temperature differential across coil
- Verify thermostat switches and responds to set temperature
- Check for abnormal sounds during operation
- Switch to heating mode and repeat all cooling verification steps
- Confirm system reaches desired temperature efficiently
- Measure final refrigerant pressures to verify charge stability
- Run system for 10+ minutes to confirm stable operation
Step 9: Maintenance Report, Guidance, and Next Service Planning
Before we leave, you receive a comprehensive maintenance report documenting everything we checked, cleaned, tested, and serviced. We explain any findings in plain language—for example, if we found a tiny refrigerant leak at a connection, we’ll explain that we repaired it and topped up the charge, so your system should remain fully charged for another year. If we discovered a marginal capacitor reading, we’ll recommend replacement before next season to avoid mid-summer failure. We discuss filter replacement intervals for your specific environment and provide guidance on what to watch for that would warrant an emergency call.
- Review all maintenance findings and explain in plain language
- Provide written report of all work completed
- Recommend any out-of-routine repairs (e.g., capacitor replacement)
- Discuss filter replacement intervals and techniques
- Explain energy-saving operating tips (zone control, scheduling)
- Confirm maintenance plan membership and schedule next visit
- Provide contact information for emergency service concerns
- Answer all homeowner questions about system operation
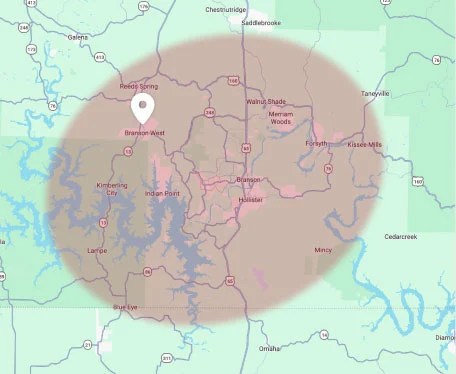
Don’t See Your Location?
We may still be able to help! Give our team a call today to see if we service your neighborhood, and we’ll be happy to assist you.
Service Areas
Mini-Split Maintenance Service Areas in Southwest Missouri
We provide professional maintenance and tune-ups across the Branson region—from our home base out to the smaller communities along the Table Rock Lake corridor.
Proudly Serving Our Communities Around:
Other Locations We Serve:
Explore More
Comprehensive Comfort Systems and Related Services
Mini-split maintenance is one part of a complete comfort strategy. Explore the related services we provide for homes and businesses across the Branson area.
Mini-Split Repair & Emergency Service
Same-day diagnosis and professional repair for cooling, heating, or efficiency failures.
Explore Mini-Split Repair & Emergency ServiceMini-Split Installation & Replacement
New ductless systems with expert placement strategy and precision commissioning.
Explore Mini-Split Installation & ReplacementCentral Air Conditioning Maintenance
Annual tune-ups for traditional duct-based cooling systems.
Explore Central Air Conditioning MaintenanceHeat Pump Maintenance & Tune-Up
Seasonal service for ducted or ductless heat pump systems.
Explore Heat Pump Maintenance & Tune-UpFurnace Maintenance & Tune-Up
Professional heating system inspection before winter season.
Explore Furnace Maintenance & Tune-UpComprehensive Maintenance Plans
Bundle all your comfort systems into one convenient service schedule.
Explore Comprehensive Maintenance PlansIndoor Air Quality Solutions
Air filtration, humidification, and UV light integration with mini-split systems.
Explore Indoor Air Quality SolutionsYour Mini-Split Maintenance
Keep Your Mini-Split System Reliable and Efficient
An unnoticed refrigerant leak, a coil slowly filling with dust, a capacitor aging toward failure—these aren’t dramatic failures, but they rob your mini-split of efficiency and cut years from its service life. Preventive maintenance catches all three before they become problems. You’ll keep your energy bills low, avoid emergency repairs during peak season, and protect the thousands you invested in your ductless system. Our 40+ years in the Branson area means we understand the precision required—calibrated gauges for refrigerant verification, careful coil cleaning that restores performance without damage, thorough electrical inspection for safety, and honest communication about what we find. Annual maintenance is the best investment you can make in your mini-split’s longevity.
Questions & Answers