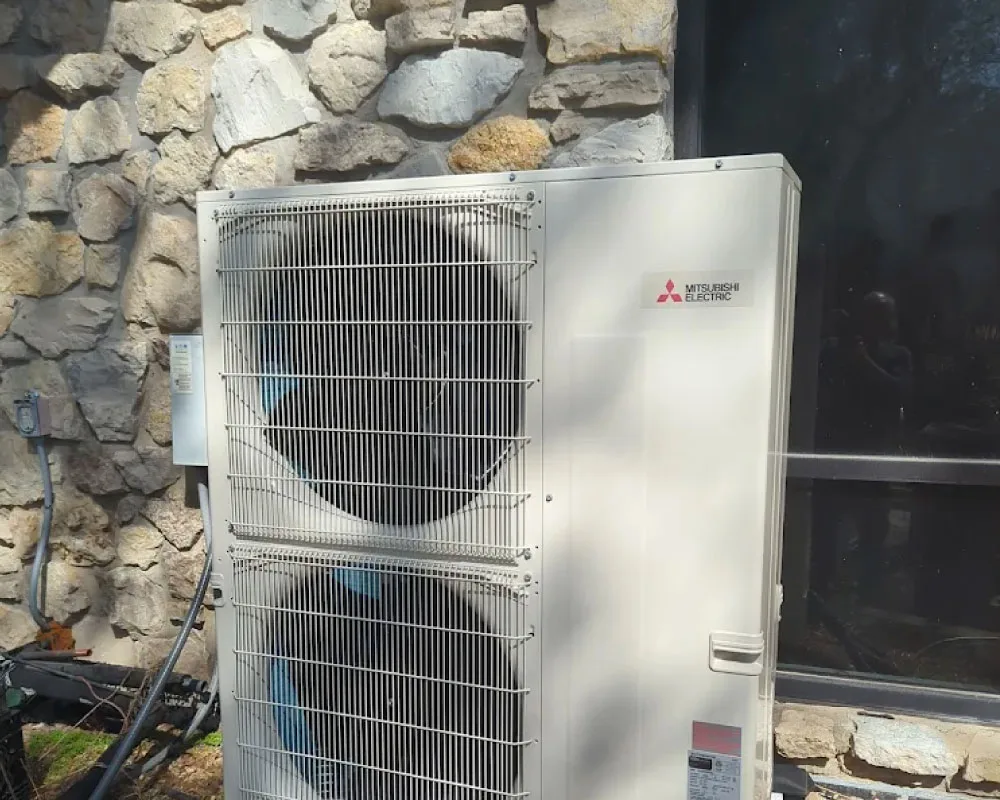
Mini-Split Installation
Ductless Mini-Split Installation & System Replacement in Branson, MO
Looking to add cooling or heating without the hassle of ductwork? A ductless mini-split system gives you precise temperature control in any room — with wall-mounted indoor units that are sleek, quiet, and efficient. We handle the full installation, from placement planning through final testing and handoff.
Get a Free Estimate
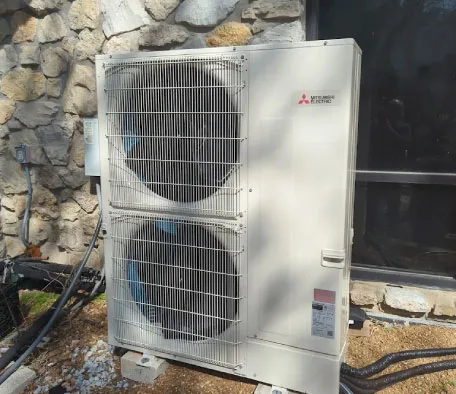
Why Choose Us
Why Branson Homeowners Choose Mini-Split Systems
A ductless mini-split delivers precise zone control, quiet operation, and energy efficiency — without the cost and disruption of installing ductwork. Here’s what sets 360 Comfort Solutions apart when it’s time to install your system.
Ready to Explore Ductless Mini-Split Installation?
Whether you’re adding comfort to a room addition, replacing an aging window unit, or installing zone-controlled cooling and heating across your entire home, we’re here to guide you through the selection and installation process.
Our Installation Process
How We Install Your Ductless Mini-Split System
From the first site evaluation to the final walk-through, here’s exactly what to expect when 360 Comfort Solutions installs your new ductless mini-split system.
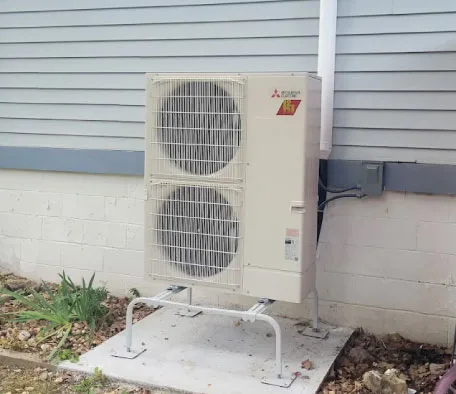
Step 1: Home Layout Assessment & Indoor Head Placement Planning
We begin with a detailed site evaluation: measuring the room or zone you want to condition, assessing wall space, checking for obstacles (ceiling beams, windows, electrical outlets, furniture placement), and discussing your comfort priorities and aesthetic preferences. Placement is critical for mini-split performance — it directly affects airflow, comfort, efficiency, and even noise perception. An indoor head mounted too high, too low, or near an obstacle won’t deliver conditioned air evenly; you may get hot or cold spots, uneven humidity, or reduced efficiency. We evaluate your room’s dimensions, window placement, sun exposure, and usage patterns to identify the optimal location. Typically, we recommend placement 6–8 feet up on an interior wall, facing the room’s center — a position that maximizes comfort, distributes air evenly, and blends aesthetically with your décor. We’ll also discuss whether you want one head per room or a multi-head system where a single outdoor compressor feeds multiple indoor units in different rooms.
- Measure room dimensions and assess layout
- Identify optimal wall space for indoor head placement
- Check for structural obstacles and aesthetic preferences
- Evaluate outdoor compressor placement on a level pad
- Discuss single-zone versus multi-zone system configurations
- Review brand and efficiency options (Mitsubishi, Fujitsu)
- Provide written estimate with equipment specs and placement plan
Step 2: Cooling and Heating Load Calculation & Equipment Sizing
Just like central systems, a mini-split must be right-sized for the space. We calculate the cooling BTU needed during Branson’s hot summers and the heating BTU needed during our mild winters, factoring in room size, insulation, sun exposure, and whether the space is occupied seasonally or year-round. An undersized unit won’t reach your target temperature; an oversized unit wastes energy. Using these calculations, we recommend the appropriately rated indoor head and outdoor compressor.
- Calculate cooling load for summer peak conditions
- Calculate heating load for winter operation
- Factor in room insulation, window area, and sun exposure
- Right-size the outdoor compressor and indoor head(s)
- Compare efficiency ratings (SEER for cooling, HSPF for heating)
- Present equipment options across efficiency tiers
- Explain operating costs and payback timelines
Step 3: Refrigerant Line Routing & Outdoor Unit Placement
We plan the path for refrigerant lines — typically ¼-inch copper tubing and larger return line — from the outdoor compressor through your home to the indoor head. Our goal is clean, discreet routing that doesn’t dominate your interior. Often, we hide lines behind baseboards, in existing wall cavities, or — for additions — through attic spaces. The outdoor compressor needs a level pad, away from shade trees (which reduce efficiency), with space for air circulation around the unit. We’ll install a vibration-damping pad to minimize noise and protect the foundation.
- Design refrigerant line path through walls, attics, or along baseboards
- Select ductwork or conduit to protect tubing and electrical wiring
- Plan outdoor compressor placement on level, concrete pad
- Install vibration isolators to minimize noise transmission
- Verify electrical service capacity for the unit’s amperage draw
- Check roof or wall penetrations for weatherproofing potential
- Mark all line routing before installation begins
Step 4: Professional Installation, Refrigerant Charge & System Testing
Installation day arrives. Our crews run insulated refrigerant lines from the outdoor compressor through your home to each indoor head — routing them discreetly behind baseboards, through wall cavities, attic spaces, or in finished conduit. Every connection is pressure-tested, and lines are secured with proper clamps and vibration isolation to minimize noise transmission through walls. The outdoor compressor is placed on the prepared pad and secured with bolts and vibration dampers. All electrical connections are made to code — 240V or 120V depending on the unit’s size and your home’s service capacity — with proper breaker sizing and safety disconnects. The system is then evacuated using a vacuum pump to remove any air or moisture from the lines (critical for efficiency and reliability), and then charged with the exact amount of refrigerant your specific equipment requires. We don’t estimate this charge — we use a calibrated scale and measure to the gram. Any deviation from the manufacturer’s specification compromises both efficiency and system lifespan.
- Run insulated refrigerant lines with proper slope and support
- Secure indoor head to the wall bracket and test for level
- Mount outdoor compressor on prepared, level pad with vibration isolation
- Make all electrical connections to code (240V or 120V as applicable)
- Evacuate refrigerant lines using a vacuum pump
- Charge system with exact refrigerant amount using calibrated scale
- Perform pressure testing to confirm zero leaks
- Test heating and cooling operation in both modes
Step 5: Thermostat Programming, Handoff & Maintenance Guidance
With the system installed and charged, we program your thermostat (or smart controller, depending on the model) to your preferred temperature, schedule, and operating mode. Many Mitsubishi and Fujitsu systems offer smartphone app control, so you can adjust temperature from anywhere. We walk you through the basics: how to switch between heating and cooling, adjust fan speed, set schedules, and use any special modes (sleep mode, eco mode, etc.). You’ll receive equipment documentation, warranty cards, filter replacement guidance, and our recommended maintenance intervals — typically an annual tune-up to keep the system efficient and reliable.
- Program thermostat to your comfort preferences and schedule
- Enable smartphone app or WiFi connectivity (if applicable)
- Demonstrate thermostat controls and operation modes
- Explain filter replacement intervals and procedure
- Provide equipment documentation and warranty information
- Review seasonal maintenance tasks (filter cleaning, outdoor unit inspection)
- Discuss when to schedule professional maintenance tune-ups
- Conduct final walk-through and system verification
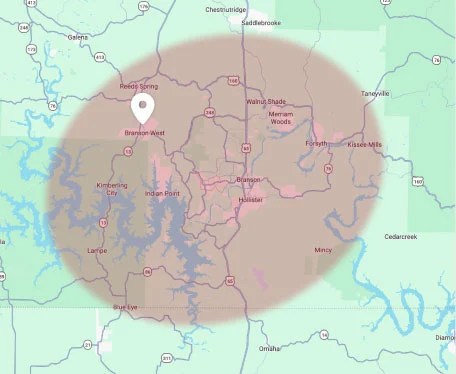
Don’t See Your Location?
We may still be able to help! Give our team a call today to see if we service your neighborhood, and we’ll be happy to assist you.
Service Areas
Mini-Split Installation Service Areas in Southwest Missouri
We install ductless mini-split systems across the Branson region — from our home base out to the smaller communities along the Table Rock Lake corridor.
Proudly Serving Our Communities Around:
Other Locations We Serve:
Explore More
Complete Comfort Solutions Beyond Mini-Splits
A mini-split performs best as part of a complete comfort strategy. Explore the related services we provide for homes and businesses across the Branson area.
Central Air Conditioning Installation
Traditional duct-based cooling systems for homes with existing ductwork.
Explore Central Air Conditioning InstallationHeat Pump Systems
Year-round heating and cooling in a single efficient unit — ducted or ductless.
Explore Heat Pump SystemsMini-Split Repair & Service
Fast diagnosis and repair for cooling, heating, or efficiency problems with your mini-split.
Explore Mini-Split Repair & ServiceMini-Split Maintenance & Tune-Up
Annual professional service to keep your system running at peak performance year after year.
Explore Mini-Split Maintenance & Tune-UpFurnace Installation & Replacement
For homes that prefer traditional furnace heating alongside air conditioning.
Explore Furnace Installation & ReplacementIndoor Air Quality Solutions
Add UV lights, air filtration, or humidity control to any system for complete home comfort.
Explore Indoor Air Quality SolutionsYour Mini-Split Installation
Ready to Install a Ductless Mini-Split System?
A mini-split system gives you flexibility, efficiency, and comfort without the expense and disruption of installing ductwork throughout your home. Whether you’re conditioning a single room, a home addition, a bedroom upstairs, or your entire home with multiple zones, a ductless system is a smart investment — especially in Branson’s climate where mild winters and hot summers benefit from zone control and energy-efficient operation. 360 Comfort Solutions has installed hundreds of Mitsubishi and Fujitsu mini-splits across Branson and the surrounding area. Call us to schedule a free in-home evaluation, and let’s find the perfect mini-split system for your home.
Questions & Answers