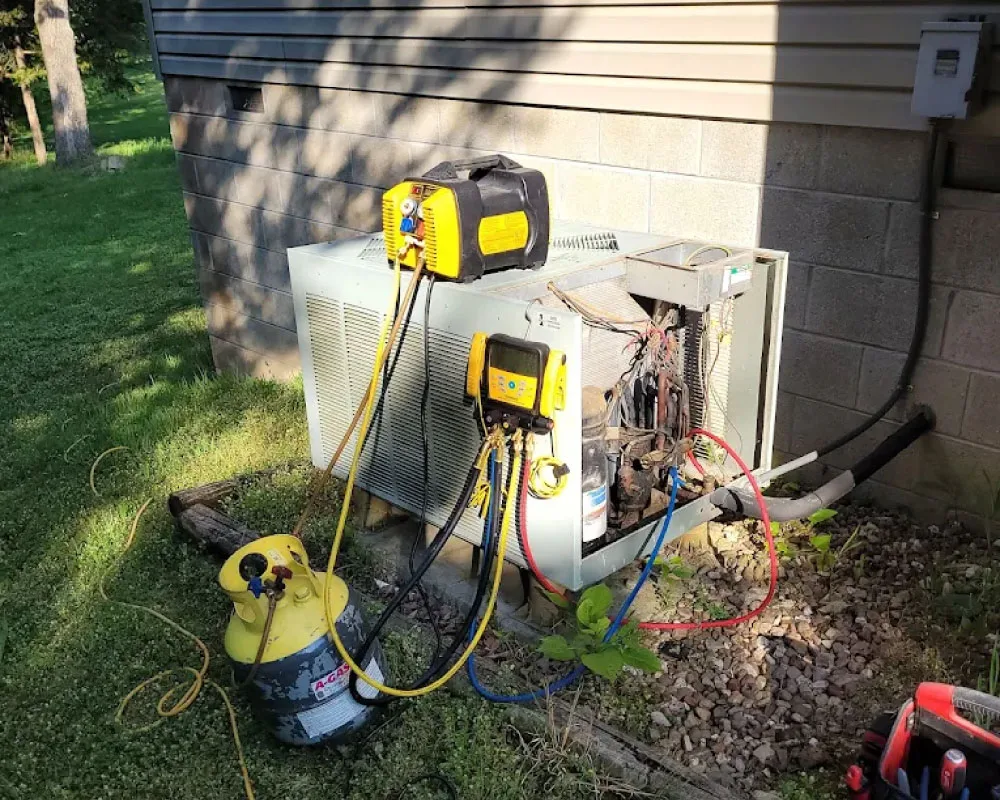
Boiler Maintenance & Tune-Up
Boiler Maintenance & Tune-Up in Branson, MO
A well-maintained boiler is a quiet, efficient boiler. Every fall before the heating season, a professional tune-up catches small issues before they become expensive mid-winter repairs—and keeps your system running at peak fuel efficiency. We inspect burners, test safety controls, check water chemistry, and measure combustion to ensure your boiler is ready for reliable winter heating. Our annual maintenance plans include priority scheduling, fuel savings, and the confidence that your home won’t lose heat on a freezing night.
Get a Free Estimate
Why Choose Us
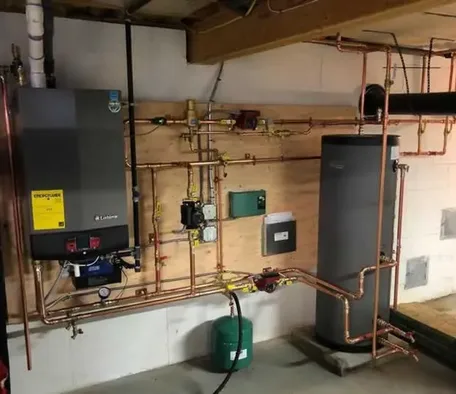
Why Branson Homeowners Maintain Their Boilers with 360 Comfort Solutions
Annual boiler maintenance is the single most effective way to prevent mid-winter breakdowns, reduce fuel costs, and extend your system’s lifespan. Here’s what sets 360 Comfort Solutions apart for boiler tune-ups and maintenance plans.
Don’t Wait for Winter—Schedule Your Boiler Tune-Up This Fall
A breakdown in December costs far more than a tune-up in September. Let us inspect your boiler, test every control, and ensure your heating system starts the season ready to perform.
Our Maintenance Process
What’s Included in Our Boiler Maintenance Tune-Up
From the first visual inspection to the final written report, here’s exactly what 360 Comfort Solutions covers during your annual boiler tune-up.
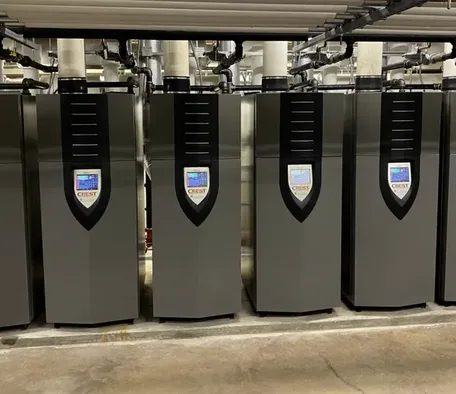
Step 1: Visual System Inspection & Pressure/Temperature Baseline
We begin by walking through your boiler room and home heating system, looking for visible problems that might have developed since last year. We check the boiler exterior for leaks, corrosion, or soot staining—any sign of incomplete combustion or water loss. We examine all exposed piping for corrosion, loose fittings, or water seepage. We inspect the expansion tank (no cracks or rust), check that all isolation and zone valves are accessible and functioning, and look at the circulating pump for unusual noise or vibration. We check the thermostat location and setting to confirm it’s positioned away from heat sources or drafts that might skew temperature readings. We measure and record baseline pressure (should be 12–15 PSI cold) and temperature rise across the heat exchanger. If pressure has drifted downward since last visit, we investigate for slow leaks. We photograph visible issues and document all findings for your records—so you can track your system’s condition year to year.
- Visually inspect boiler exterior for leaks, corrosion, soot, or damage
- Check pressure gauge and record cold baseline (should be 12–15 PSI)
- Measure water temperature at boiler outlet
- Examine all visible piping for corrosion, leaks, or loose connections
- Check expansion tank for proper pressure, cracks, or water staining
- Inspect circulating pump for noise, vibration, or unusual sounds
- Verify all isolation and zone valves are accessible and functioning
- Check thermostat placement and calibration
- Examine venting system for visible blockage or damage
- Document and photograph findings for your file
Step 2: Combustion Analysis & Burner Inspection
Clean, efficient combustion is critical for both fuel economy and safety. We fire up your boiler and use a calibrated combustion analyzer to measure flue gas composition, including oxygen level, carbon monoxide, and temperature. These measurements tell us if the burner is burning fuel completely and safely. A properly tuned burner produces a bright blue flame; a yellow or orange flame indicates incomplete combustion and fuel waste. We visually inspect the burner nozzle (if oil-fired) or burner head (if gas-fired) under magnification for carbon deposits, clogging, or wear. For oil systems, we examine the nozzle spray pattern. For gas systems, we check electrode spacing and condition. If buildup is present, we clean the burner thoroughly—removing soot, scale, and deposits that reduce flame quality and efficiency. We test the ignition system: spark module, flame sensor, or pilot light depending on boiler type. We measure ignition timing and verify the flame sensor responds correctly to fire and cutoff. After cleaning and testing, we re-run the combustion analysis to confirm burner efficiency has improved.
- Fire boiler and observe ignition sequence
- Connect calibrated combustion analyzer to flue
- Measure oxygen level (should be 3–7% in the flue)
- Measure carbon monoxide (should be minimal; >50 ppm triggers follow-up)
- Record flue gas temperature and compare against manufacturer specs
- Visually inspect burner nozzle or burner head under magnification
- Check electrode spacing and condition (gas systems)
- Clean burner of carbon deposits, soot, and scale if needed
- Test flame sensor response and reset cycle
- Test spark module (or pilot light) for reliable ignition
- Re-run combustion analysis after cleaning to verify improvement
- Document efficiency rating
Step 3: Safety Switch Testing & Electrical System Verification
Every boiler has multiple safety switches designed to protect your home and family. We test each one to confirm it responds correctly. The limit switch (high-temperature cutoff) is tested by measuring water temperature as the boiler heats and confirming the switch triggers if temperature exceeds safe limit—preventing overheat. The low-water-cutoff switch is tested by reducing system pressure incrementally and confirming the boiler shuts down before pressure falls below safe minimum—protecting the pump from cavitation. The flame-failure switch is tested by interrupting the ignition signal mid-cycle and confirming the boiler extinguishes the flame and locks out (won’t reignite until reset)—preventing dangerous unburned gas accumulation. For oil-fired systems, we test the cad cell (flame sensor) response time and ensure it cuts off fuel if the burner fails to ignite. We also check all electrical connections for corrosion, measure voltage at the boiler control board, and verify the pump and valve relays are switching correctly. Proper electrical operation is essential for reliable, safe startup and shutdown.
- Test limit switch: heat water and verify switch triggers at setpoint
- Test low-water-cutoff: reduce pressure and verify boiler shuts down safely
- Test flame-failure switch: interrupt ignition signal mid-cycle and confirm shutdown
- Check cad cell (flame sensor) response time
- Measure electrical voltage at control board and verify within spec
- Test all relays: pump relay, oil valve solenoid, gas valve solenoid
- Check thermostat signal wiring for continuity and corrosion
- Verify reset button function (if applicable)
- Inspect all electrical connections for corrosion or loose terminals
- Document all safety switch response times
Step 4: Water Chemistry Testing & Treatment Recommendation
Hard water is a hidden threat to boiler longevity. Calcium and magnesium in water form scale inside the heat exchanger, reducing heat transfer efficiency and eventually causing overheating shutdowns. We test your water hardness, pH, alkalinity, and iron content using an on-site test kit. If hardness exceeds 150 ppm (parts per million), we recommend chemical treatment (polyphosphate additive that prevents scale formation) or installation of a whole-house water softener (which removes hardness entirely). Low pH (acidic water) causes corrosion of copper piping and steel heat exchanger surfaces. We adjust pH upward if needed using alkalinity additives, targeting a neutral pH of 7.0. If iron content is high (reddish water or rust stains in radiators), we recommend flushing the system to remove rust particles and installing treatment to prevent future corrosion. For systems with visible sediment or discoloration, we may recommend a professional system flush—circulating a cleaning solution through all piping to break up and remove deposits. These water quality steps prevent scale, corrosion, and sediment buildup that would otherwise shorten boiler lifespan by 5–8 years.
- Test water hardness (target: <100 ppm; >150 ppm requires treatment)
- Test water pH (target: 6.8–7.2; outside this range indicates corrosion risk)
- Test alkalinity and iron content
- Evaluate piping interior (check radiator drain for sediment)
- Recommend chemical treatment or softening if hardness is high
- Recommend pH adjustment if acidic
- Recommend system flushing if sediment or rust is visible
- Document water chemistry baseline for comparison next year
- Explain how water treatment prevents premature boiler failure
Step 5: Circulating Pump & Zone Valve Testing
The circulating pump is the heart of a hot-water heating system—it must move water reliably through radiators and baseboards. We listen to the pump for unusual noise (cavitation, bearing wear) and feel for vibration. We measure water flow at multiple radiators to confirm the pump is delivering consistent flow throughout the system. For multi-zone systems with motorized zone valves, we test each zone independently: does the valve open and close smoothly when its thermostat calls for heat? Does the pump restart when a zone opens? Does water stop flowing to a zone when its valve closes? Any sluggish or stuck zone valves are noted, and replacement is discussed if the valve is aging or unreliable. We also check the pump’s electrical connections and verify the motor is running at normal temperature (not overheating). A failing pump creates noise, reduces heat to some rooms, and will eventually fail completely—often in cold weather. Testing ensures you catch a declining pump before winter.
- Listen to pump operation for cavitation or bearing noise
- Feel for unusual vibration at pump motor and mounting
- Measure water flow rate at multiple radiators
- For multi-zone systems, test each zone valve operation
- Verify motorized zone valves open/close smoothly
- Check pump electrical connections for corrosion
- Measure pump motor temperature (should be normal, not hot)
- Test pump response to thermostat signal
- Visually inspect pump seals for water weeping
- Document pump condition and estimate remaining service life
Step 6: System Pressure, Expansion Tank & Leak Assessment
Boiler systems must maintain proper water pressure to ensure the pump works, the heat exchanger doesn’t overheat, and no air enters through low-pressure zones. We measure baseline pressure (cold system, should be 12–15 PSI) and confirm it holds steady for one hour—if pressure drops, there’s a slow leak. We inspect the expansion tank, which absorbs water expansion as the system heats, preventing pressure spikes. The tank contains an internal bladder pressurized with air—if the bladder ruptures, the tank fills with water and can’t function, causing rapid pressure buildup. We test tank pressure using a tire gauge at the air valve and visually inspect for cracks or water staining that indicates failure. If the tank is failing, replacement is straightforward and prevents pressure control problems. We also inspect all visible piping joints, fittings, and radiator connections for pinhole leaks or slow weeps that might not be obvious until pressure drops significantly. Even a tiny leak will eventually lose enough water to drop pressure below the safe cutoff, leaving you without heat.
- Measure baseline system pressure (should be 12–15 PSI cold)
- Hold pressure for 1 hour and document any drop (indicates leak)
- Test expansion tank air pressure using tire gauge
- Visually inspect tank for cracks, rust, or water staining
- Check tank mounting and isolation valve function
- Inspect all visible piping for pinhole leaks or corrosion
- Check solder joints and fittings for weeping
- Inspect radiator and baseboard connections for leaks
- Document leak locations and prioritize repairs if found
- Provide pressure baseline for future reference
Step 7: Documentation, Recommendations & Maintenance Plan Enrollment
After all testing is complete, we provide you with a detailed maintenance report: all measurements and test results, photos of any issues found, and our recommendations for next steps. Some items are routine (filter cleaning, minor adjustments). Others are preventive but not urgent (zone valve replacement, water treatment). Still others require attention (pressure leak, poor combustion, safety switch drift). We explain each finding clearly and help you prioritize. We discuss our maintenance plan options: annual tune-ups (recommended for all boilers), emergency priority scheduling, and fuel savings that often exceed the plan cost. We answer all your questions about your boiler’s health, what to expect during the heating season, and when to call us if anything seems wrong (noises, pressure drops, temperature issues). You receive a written summary with our contact info, warranty information, and the date your next tune-up is due.
- Review all test results and findings with homeowner
- Explain safety issues clearly (if any)
- Prioritize recommended repairs or maintenance
- Discuss maintenance plan enrollment and benefits
- Provide written report with test results and photos
- Explain seasonal startup and operation
- Review thermostat programming and comfort settings
- Answer all questions about boiler operation
- Confirm next maintenance visit date
- Provide emergency contact number for winter
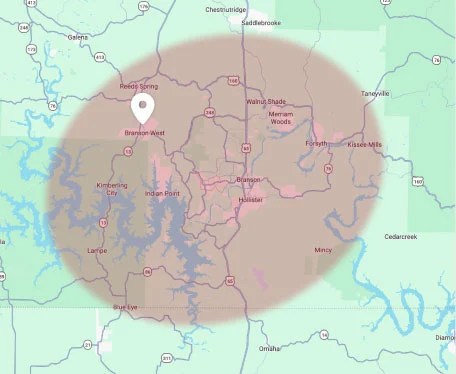
Don’t See Your Location?
We may still be able to help! Give our team a call today to see if we service your neighborhood, and we’ll be happy to assist you.
Service Areas
Boiler Maintenance Service Areas in Southwest Missouri
We provide annual maintenance and tune-up service across the Branson region—from our home base out to the smaller communities along the Table Rock Lake corridor.
Proudly Serving Our Communities Around:
Other Locations We Serve:
Explore More
Complete Boiler System Support Through the Year
Boiler maintenance is the foundation of reliable winter heating. Explore the related services we provide to keep your entire heating system performing at its best.
Boiler Repair & Emergency Service
When your boiler breaks, we diagnose and repair fast with same-day emergency response and warranty coverage.
Explore Boiler Repair & Emergency ServiceBoiler Installation & Replacement
Ready to upgrade to a new, high-efficiency boiler? We handle sizing, installation, and system integration.
Explore Boiler Installation & ReplacementHeat Pump Maintenance & Service
If you’re considering replacing your boiler with a modern heat pump, we offer maintenance plans for those systems too.
Explore Heat Pump Maintenance & ServiceFurnace Maintenance & Tune-Up
Alternative heating system maintenance for homes with forced-air heat.
Explore Furnace Maintenance & Tune-UpWater Heater Maintenance
Keep your hot water system running alongside your boiler heating.
Explore Water Heater MaintenanceIndoor Air Quality & Humidity Control
Improve winter air comfort by adding humidifiers and air filtration to your boiler system.
Explore Indoor Air Quality & Humidity ControlYour Boiler Maintenance
Fall Maintenance Keeps Your Boiler Running Reliably All Winter
A few hours of maintenance each fall prevents expensive emergency repairs on freezing nights. Our annual tune-up tests every safety control, measures combustion efficiency, checks water chemistry, and ensures your boiler is ready for 4–5 months of reliable heating. 360 Comfort Solutions has 40+ years of boiler service in Branson. We understand how the winter heating season stresses your system and what preventive steps matter most. When you enroll in our maintenance plan, you get professional inspections, priority emergency scheduling, and fuel savings that often exceed the plan cost. Don’t wait until December when your boiler fails—schedule your fall tune-up in September or October, before the rush, and start the heating season with confidence.
Questions & Answers